Since installing the HTRI control board in my HotTop, I’ve wanted to mount the board better. Randy used a metal bracket in his install, and that would be the easy solution, but after talking with a friend who uses Sketchup to design furniture, I got the idea to use it to design a bracket for my HTRI board.
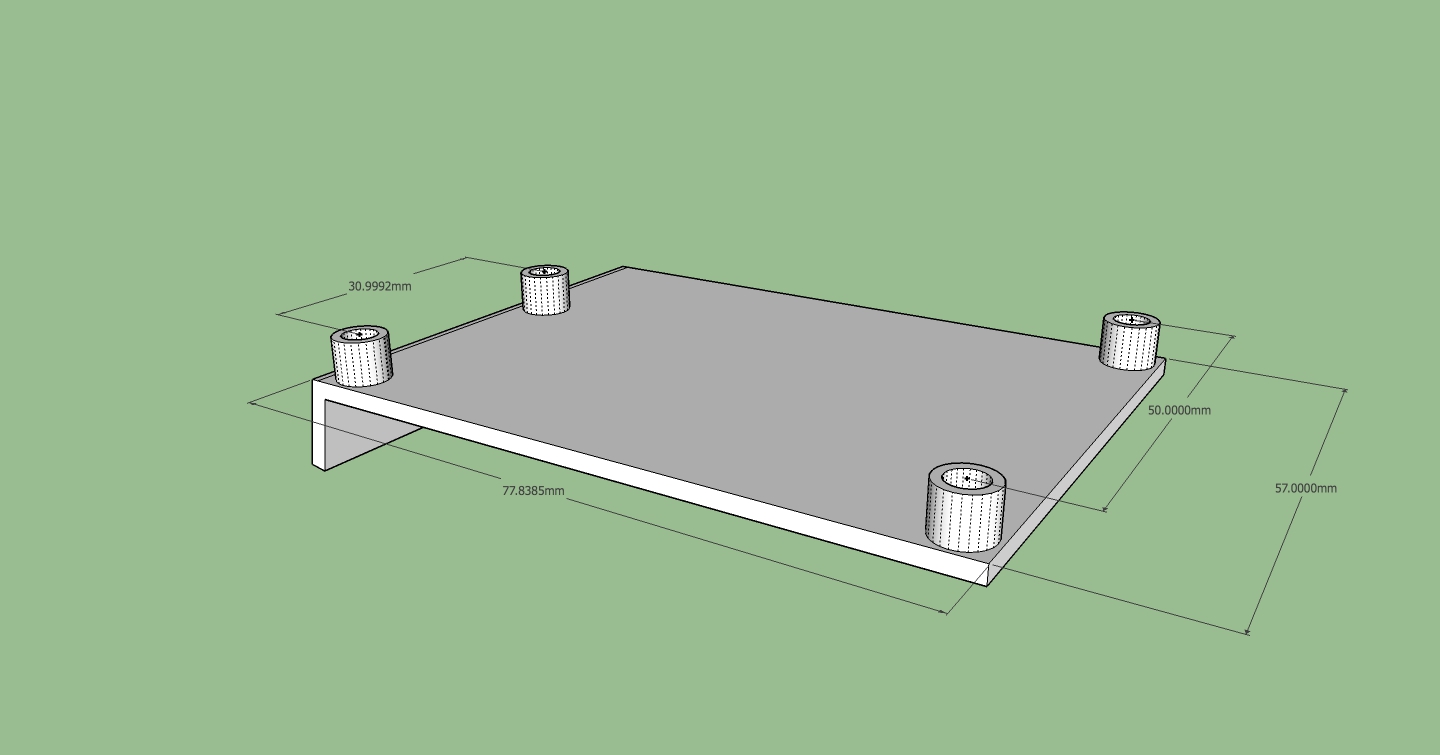
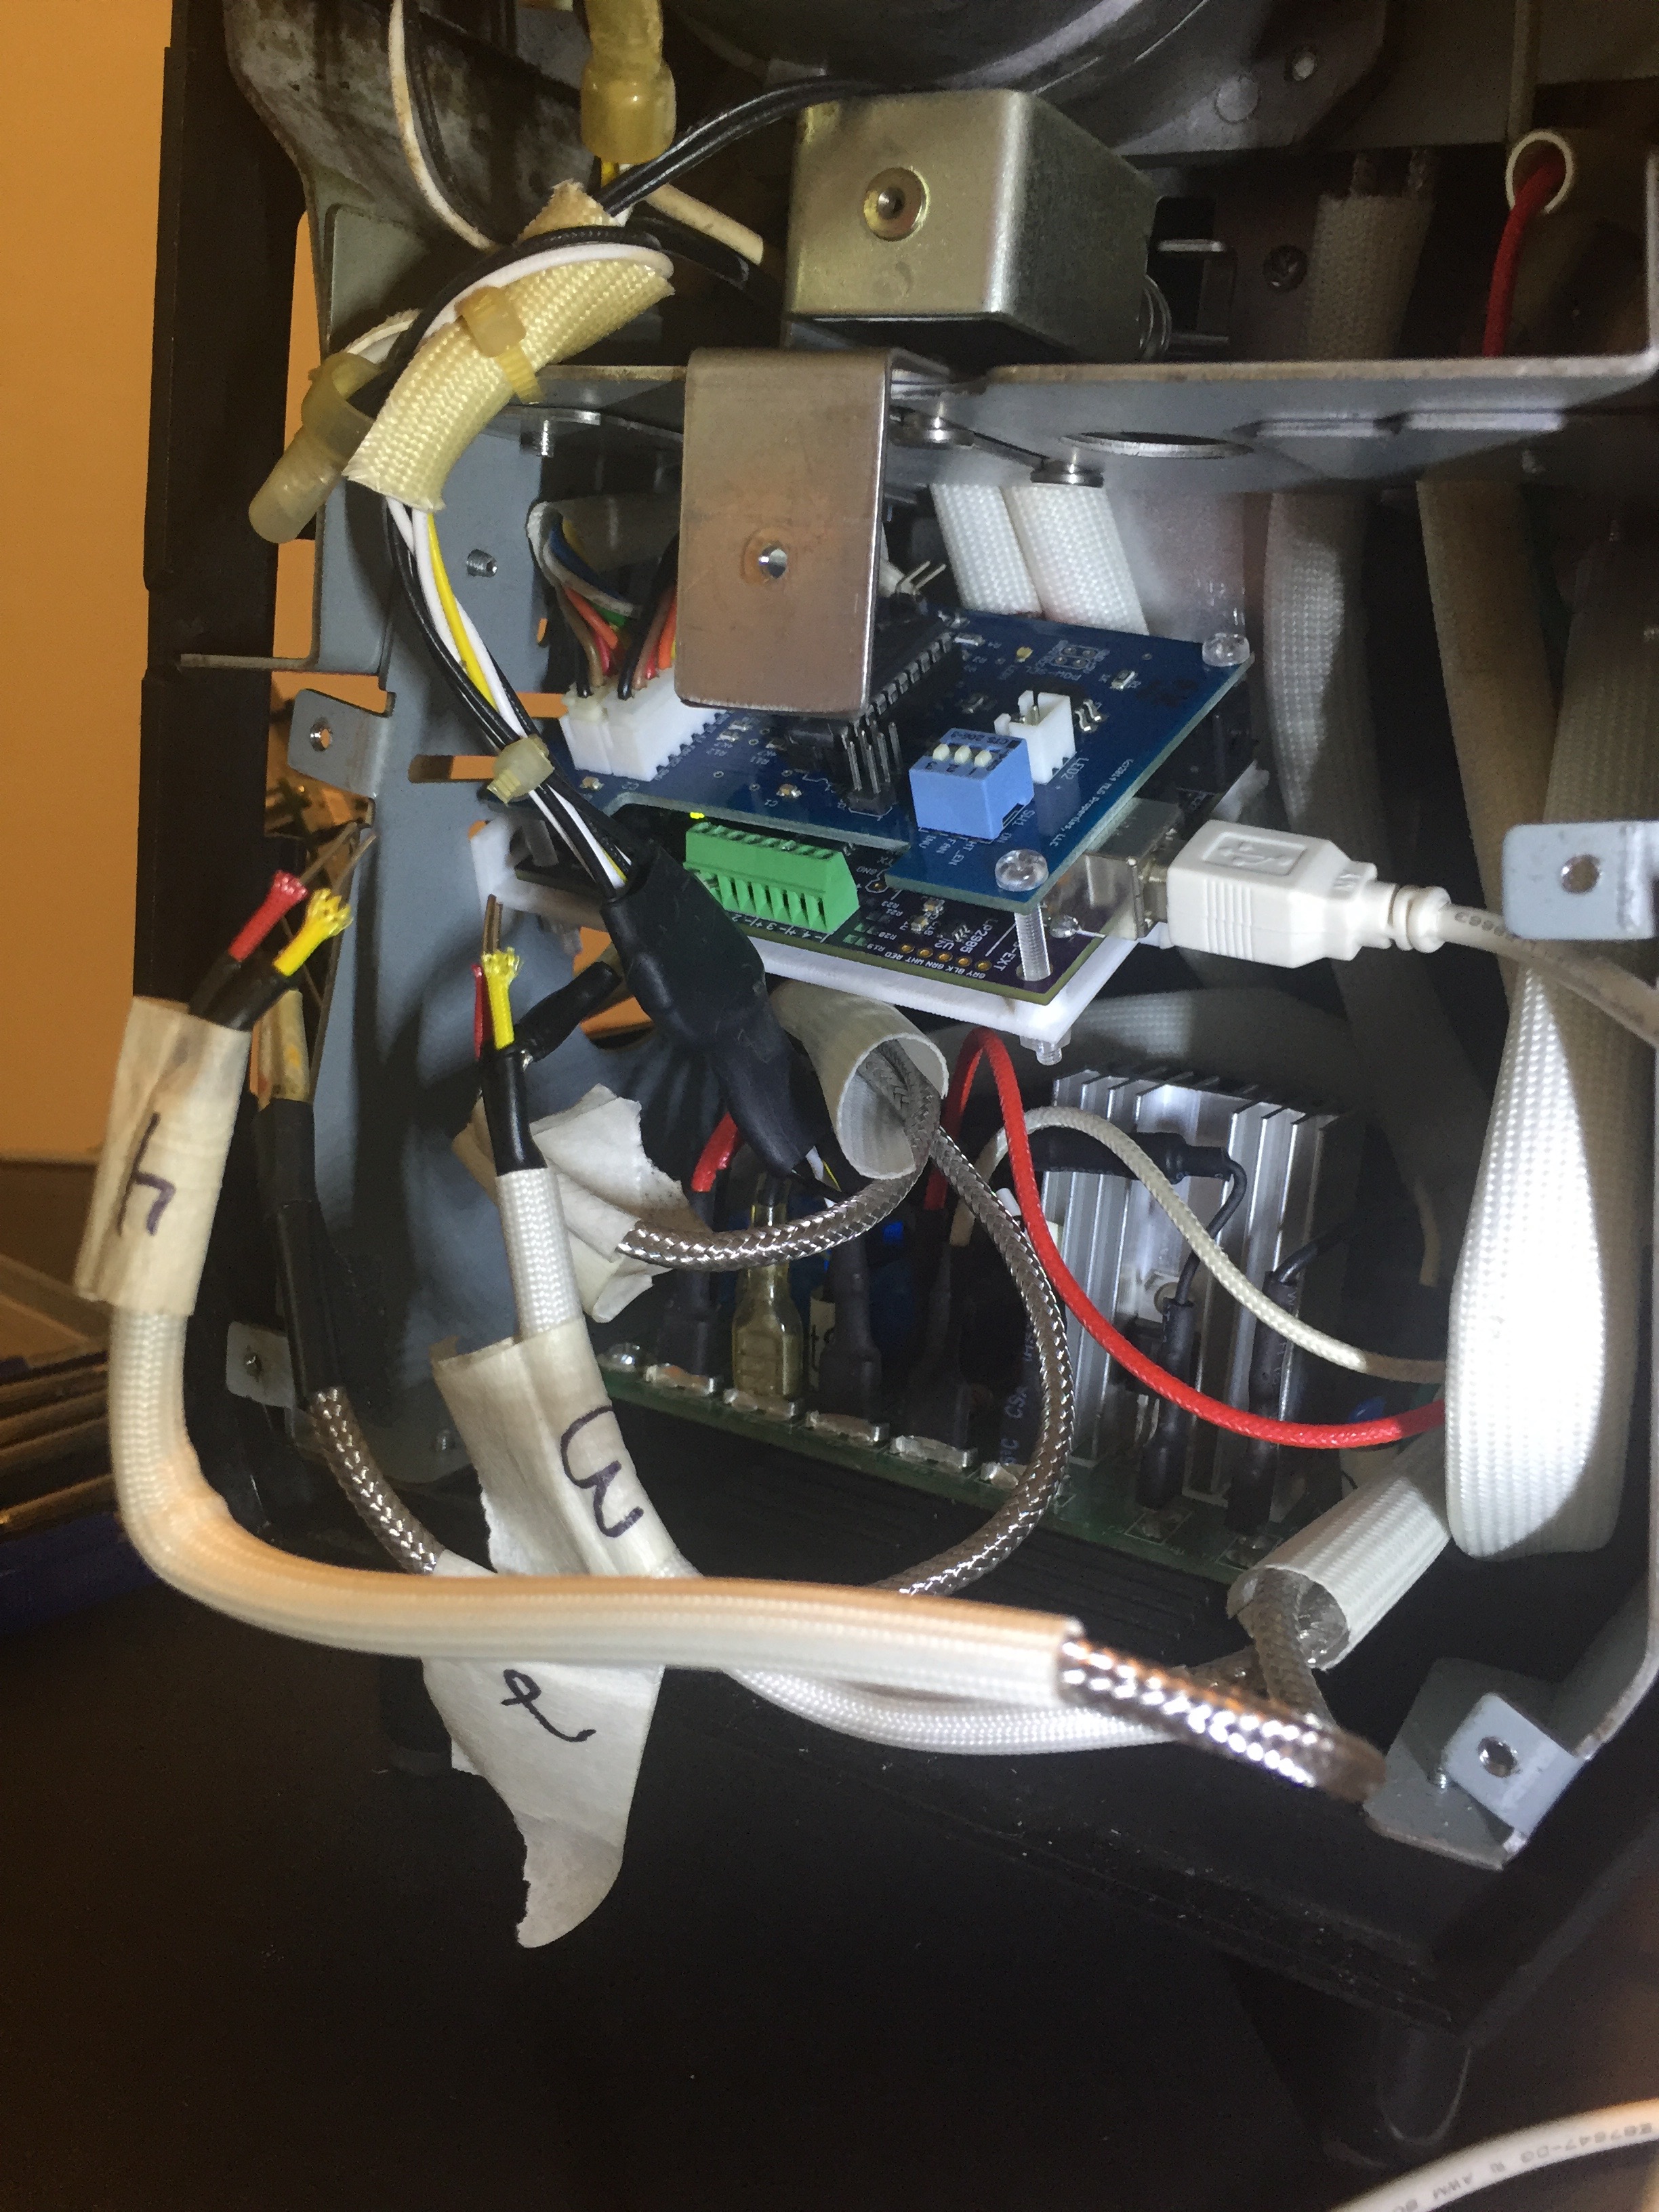
The intention is to attach the bracket horizontally or perpendicular to the side of the HotTop chassis, just above the main board. Currently, the board is mounted vertically or parallel to the side using nylon screws long enough to reach through both HTRI boards and the chassis itself. Because of the slight angle (80°) of the frame, it’s difficult to get a good, snug fit, as the nylon screws bend slightly. The bracket will hopefully be a more stable solution.
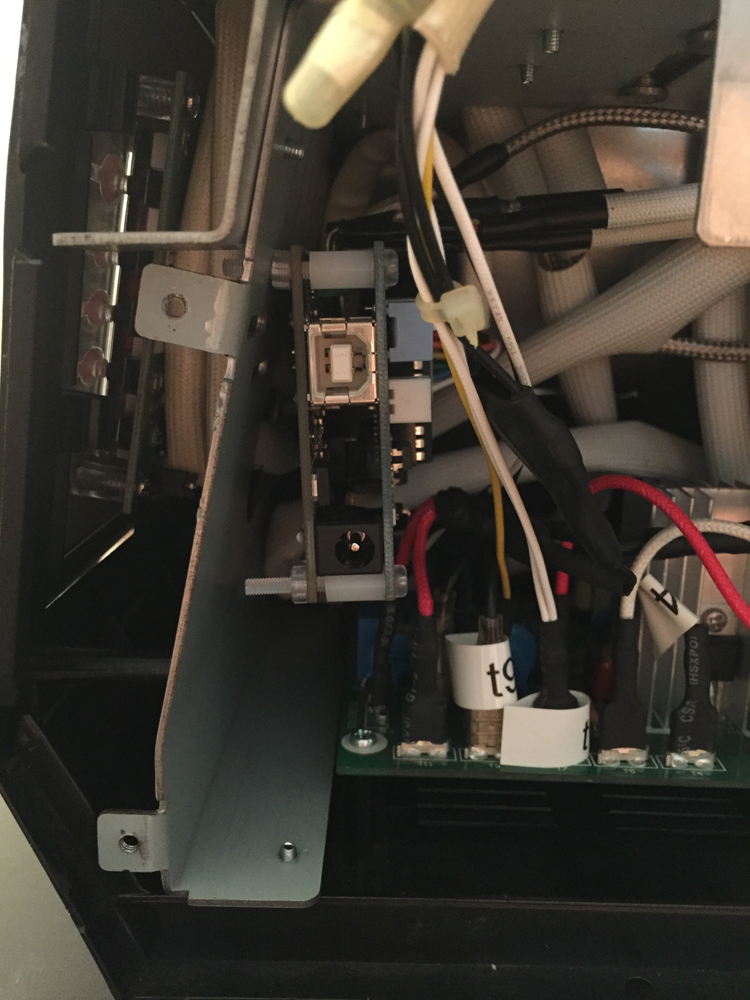
I’ve already submitted a prototype to the 3D printing company, but the owner found problems in the model. He said Sketchup wasn’t intended to design things that get translated directly to the real, 3D world and so it “fudges” things a bit and that fudging is visible when printed. So I’ve had to finesse the drawing a bit to hopefully produce a 3D-printable file.
See also: HotTop Resources
Stay tuned for updates! Once I have a finished product I will provide the 3D file for download.
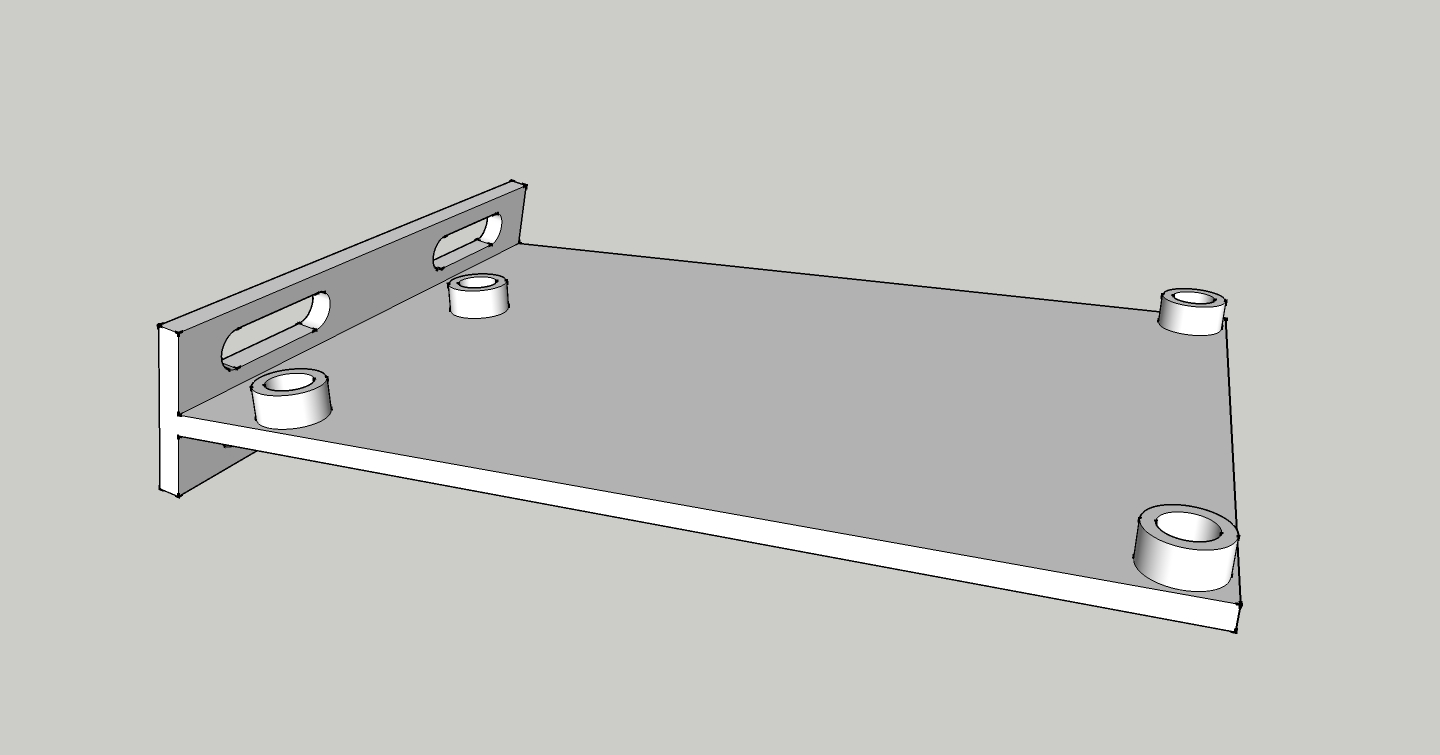
Update: The very first printing attempt failed. Somehow some stray fibers forced one end of the bracket up off the printer’s hotplate, and eventually, the bracket fell over. However, enough of the bracket printed that I could test the HTRI’s fitting and also see how the bracket will fit in the roaster. In doing so, I decided to redesign how it mounted to the inside of the roaster. The new design incorporates a “T-shape” rather than an “L-shape” design so that I can lower the control board while using the same mounting point on the roaster and also double the number of points where the bracket attaches to the roaster, from two to four.
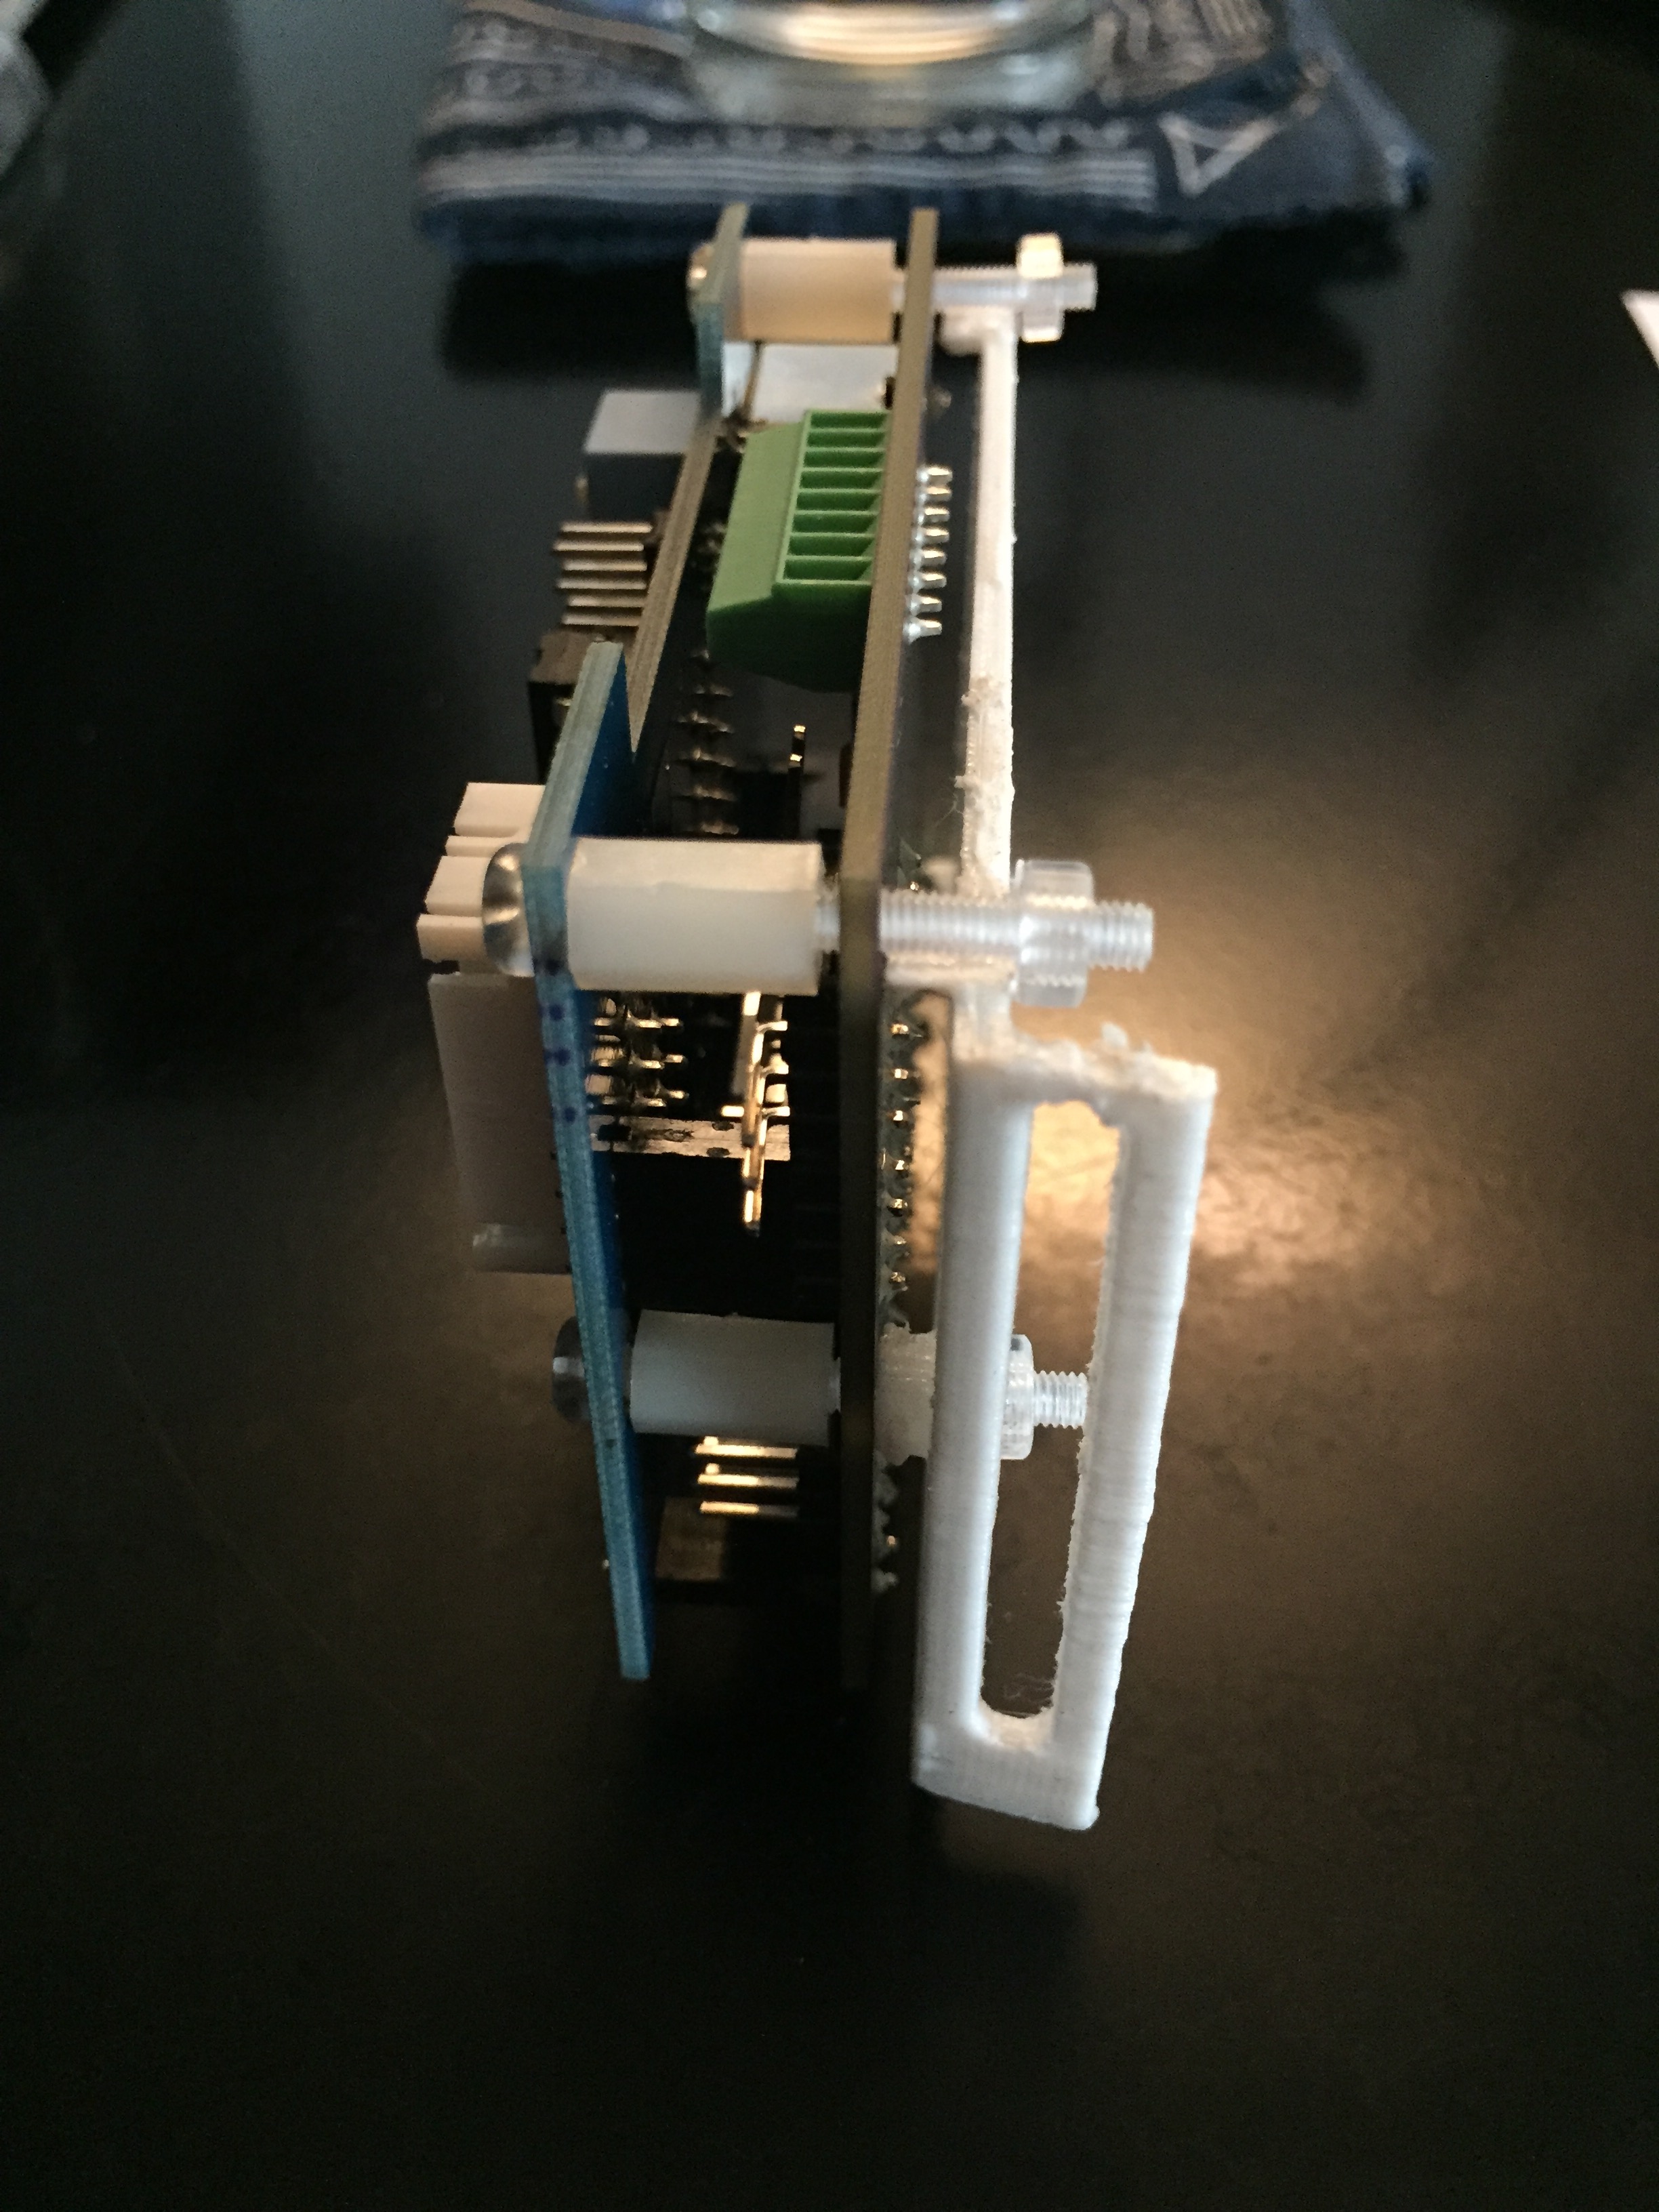
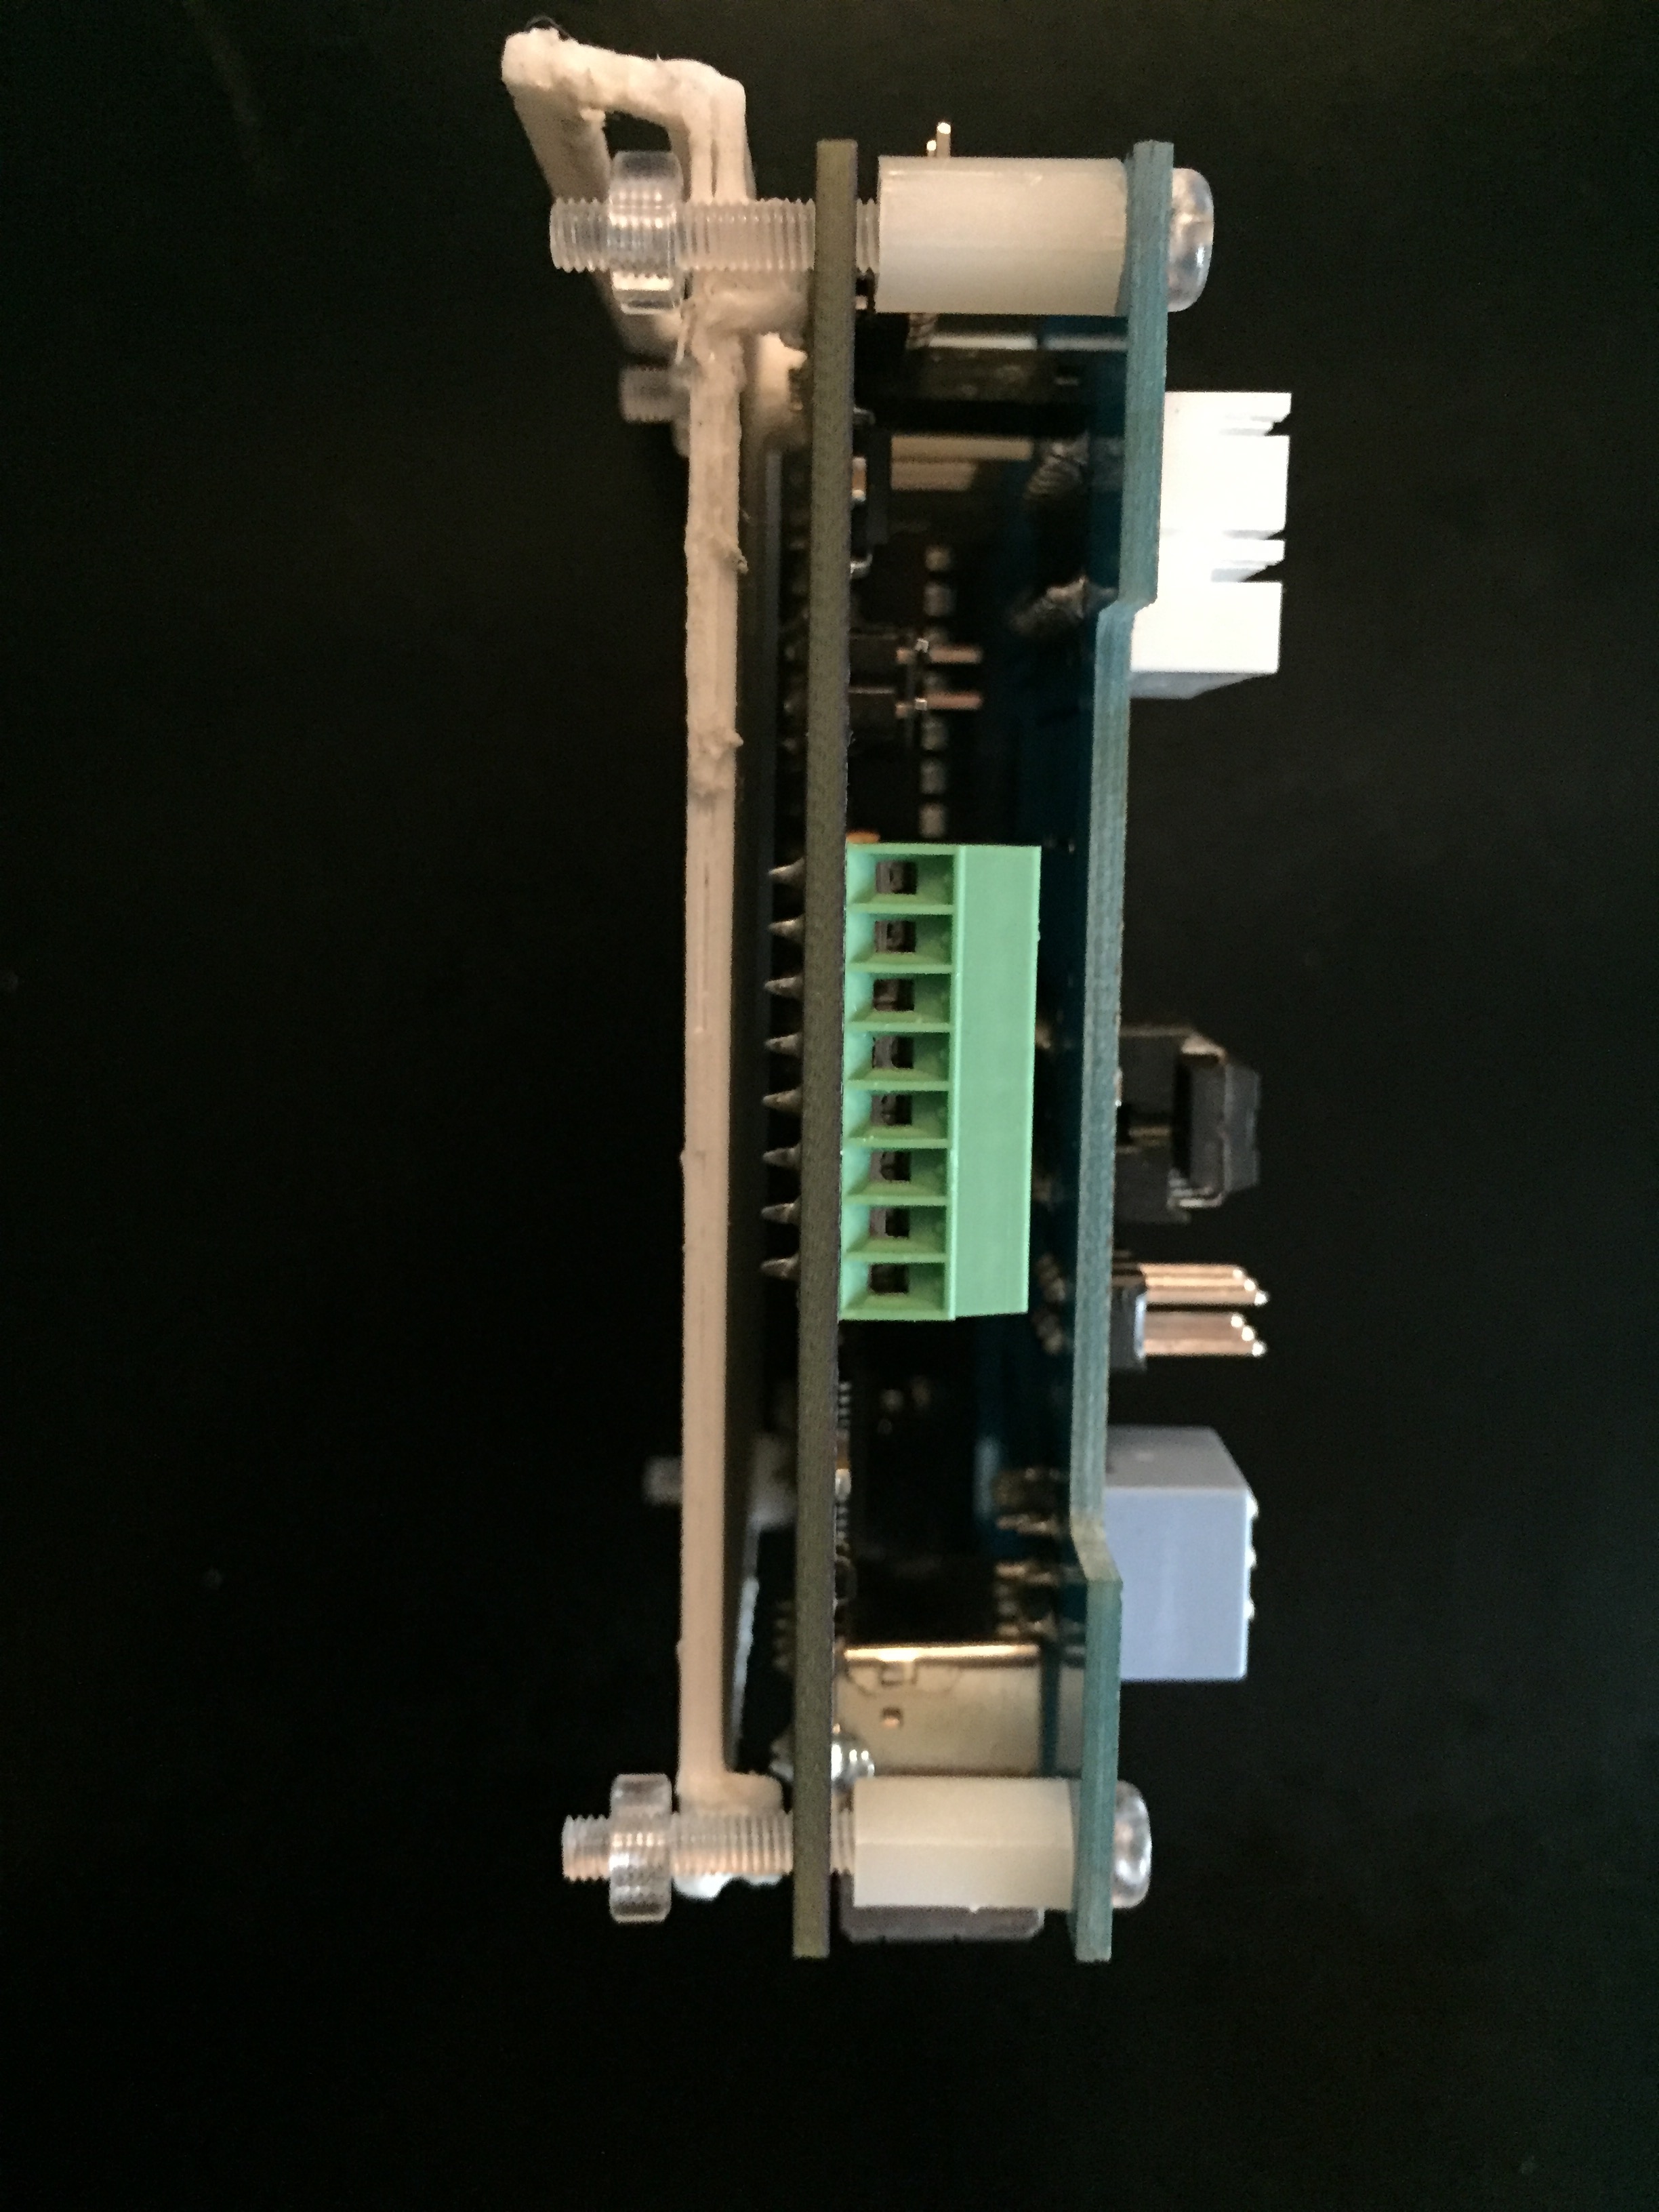
Below is a video of the printing of the first version. In the video, you can see the bracket has already lifted off the printer base at the right corner of the bracket. Shortly after I shot the video, the bracket fell over, and printing ended prematurely.
Version 2
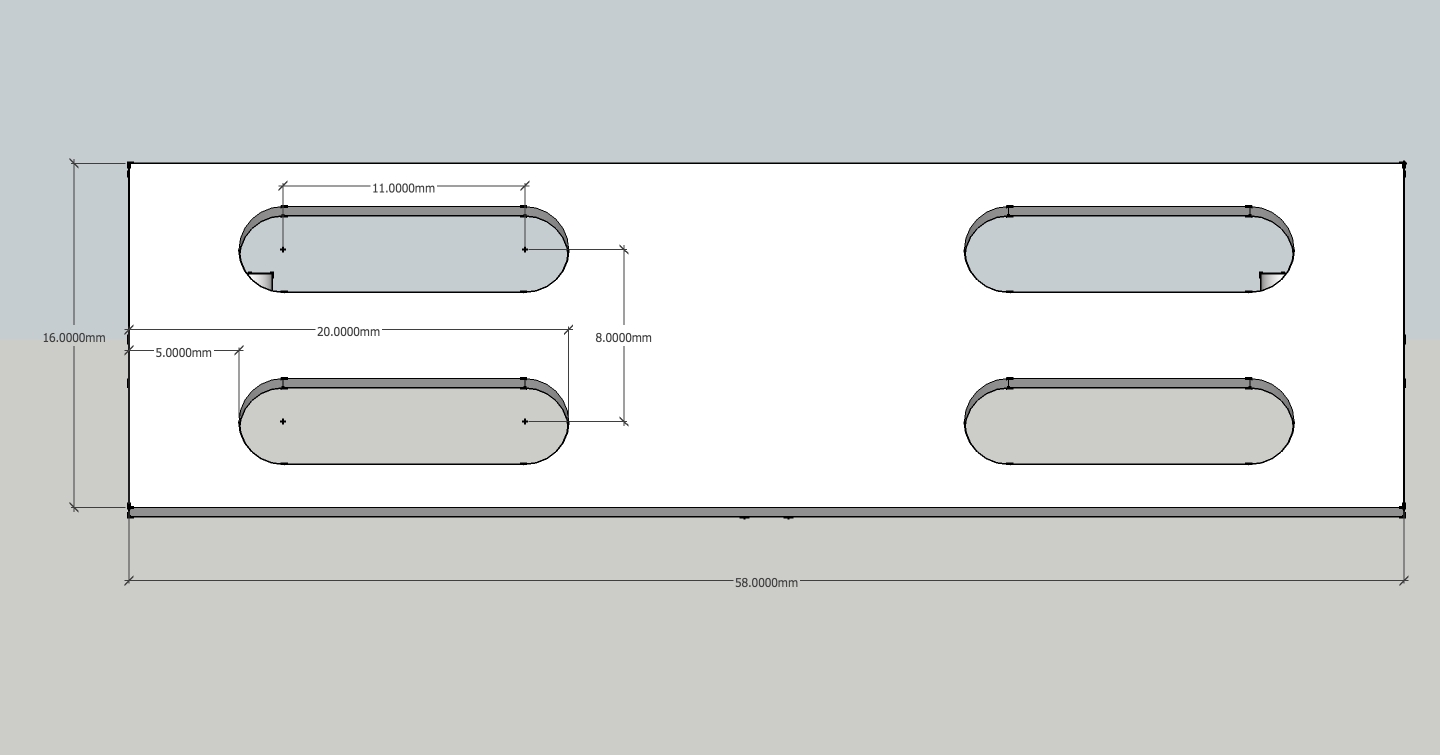
I changed the single, long slot to two shorter slots to increase rigidity in the bracket.
I also added a support the entire length of the bracket. I was worried that as I moved the roaster from the shelf to the counter and back, before and after each roasting session, that the board and bracket would bounce around too much and eventually break. I’m hoping with four points of contact to the roaster plus the full-length support; I’ll have less bounce and more stability and strength.
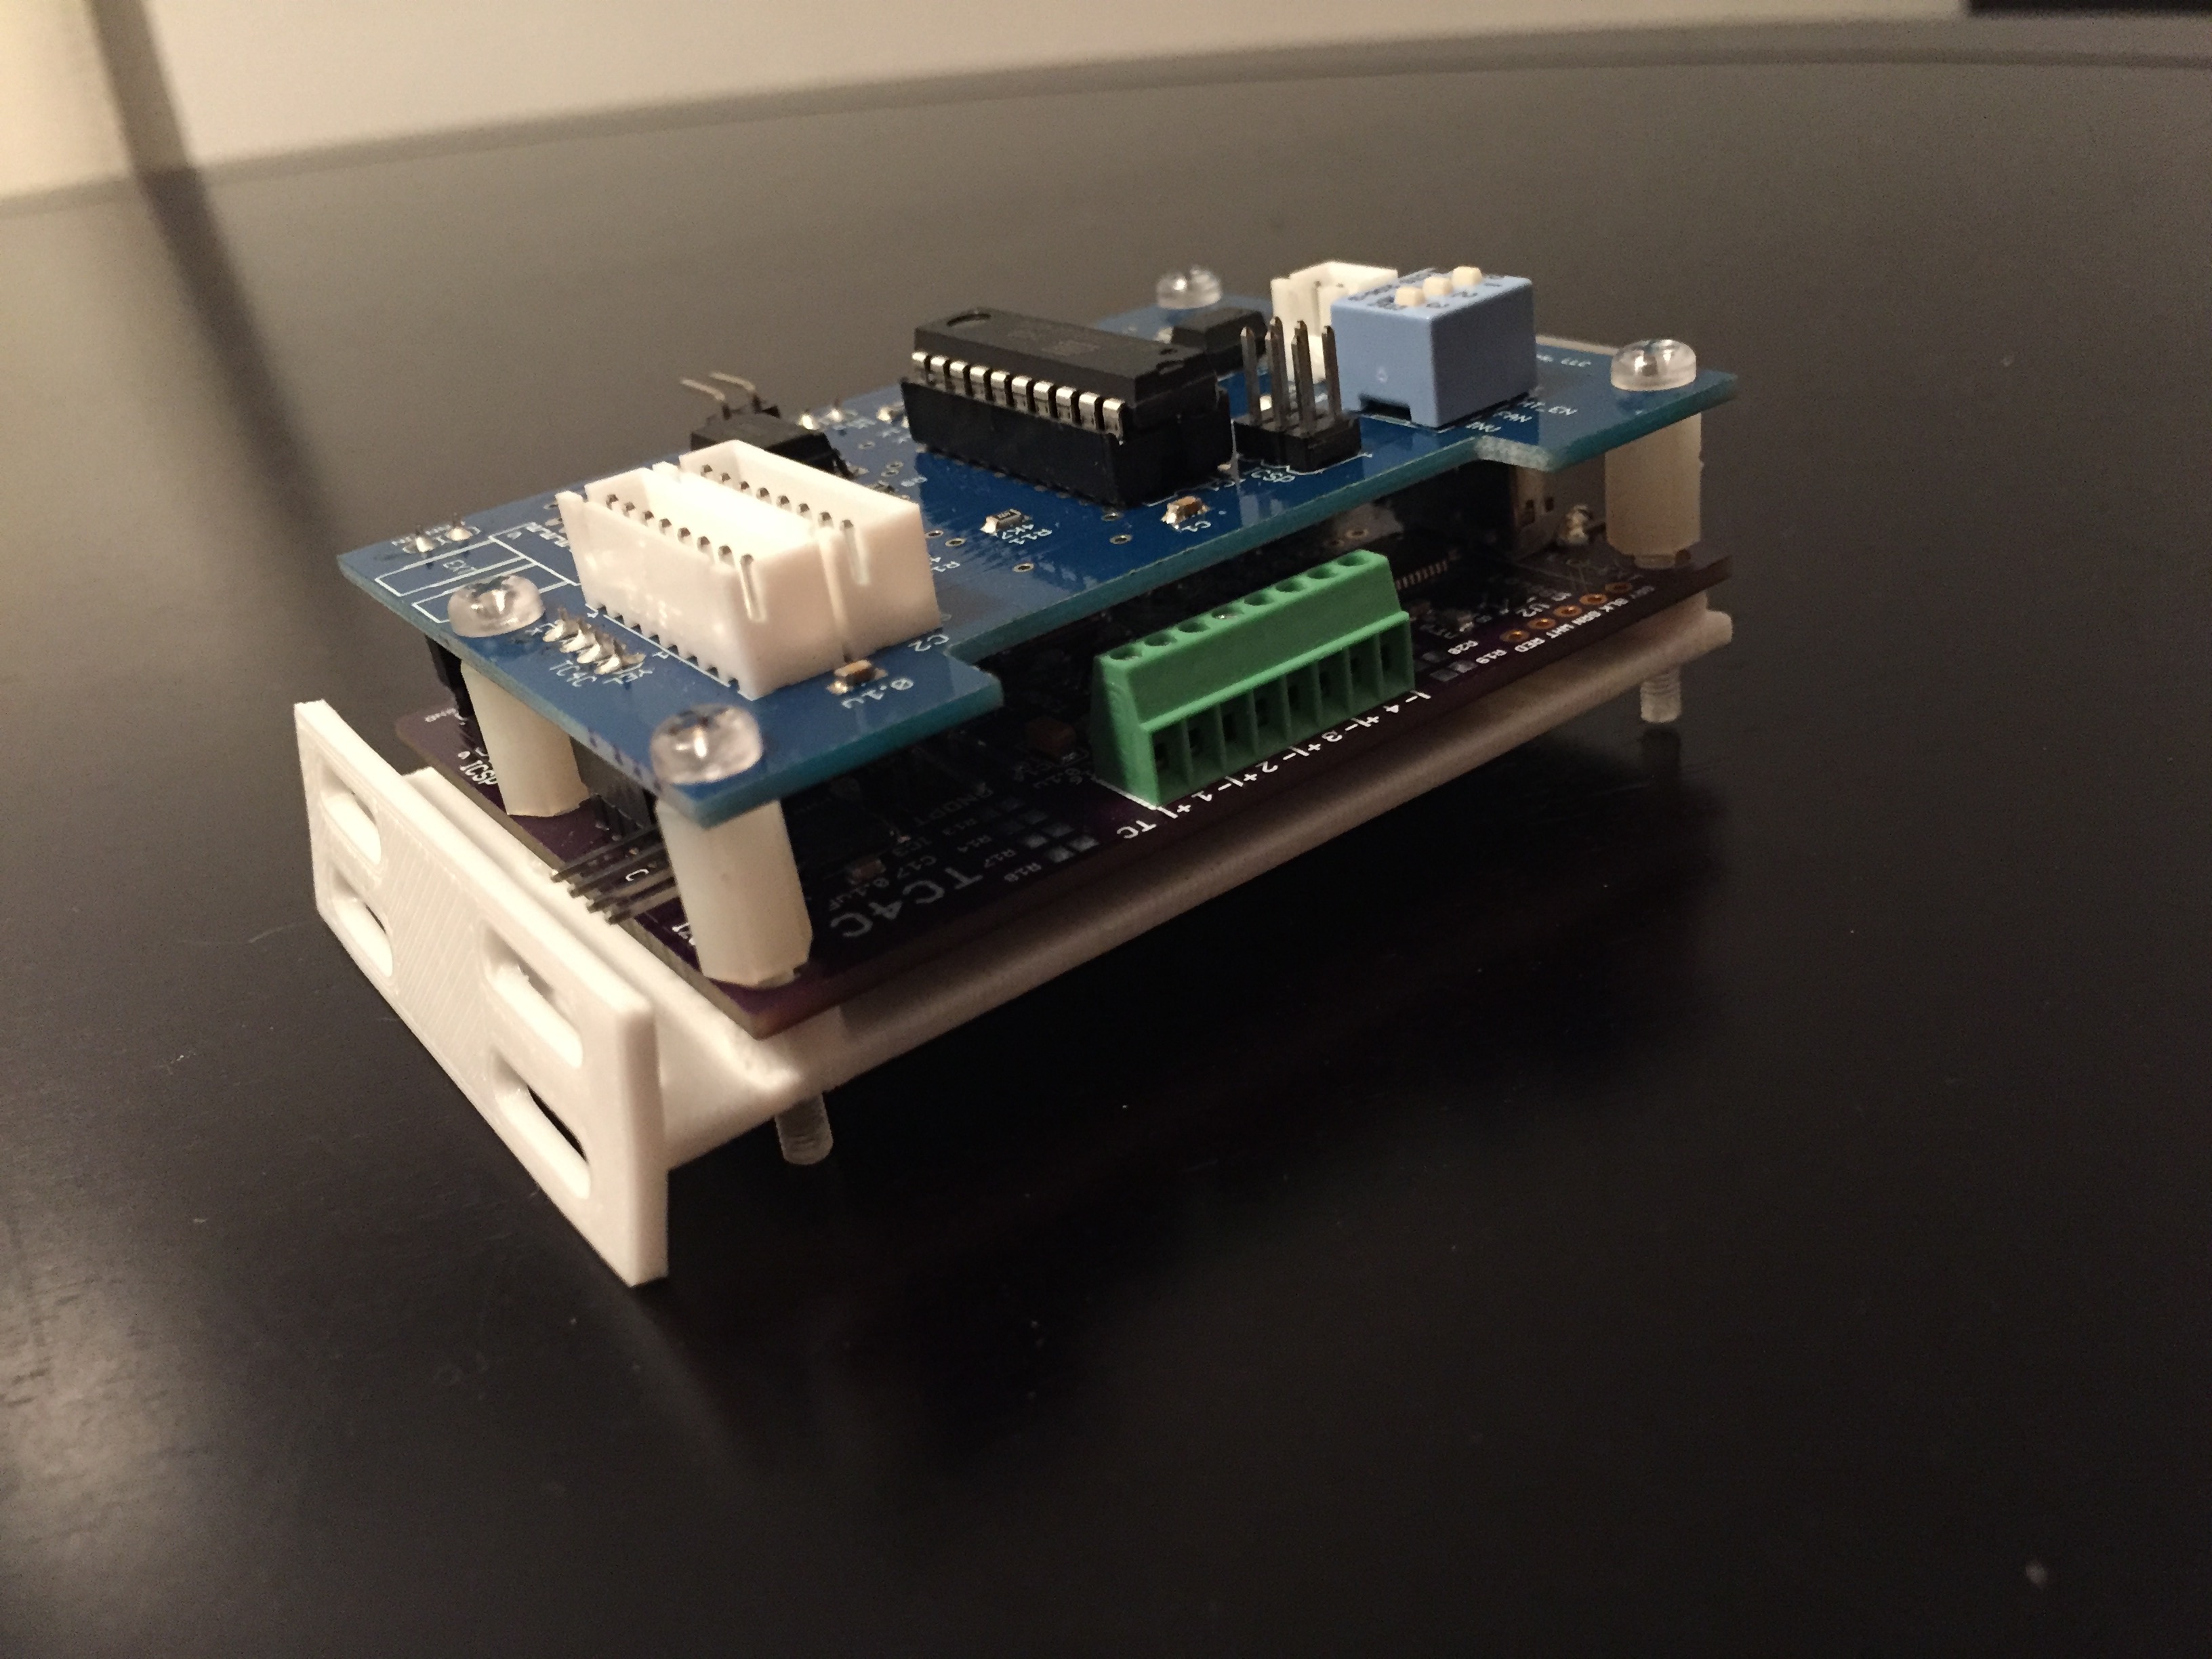
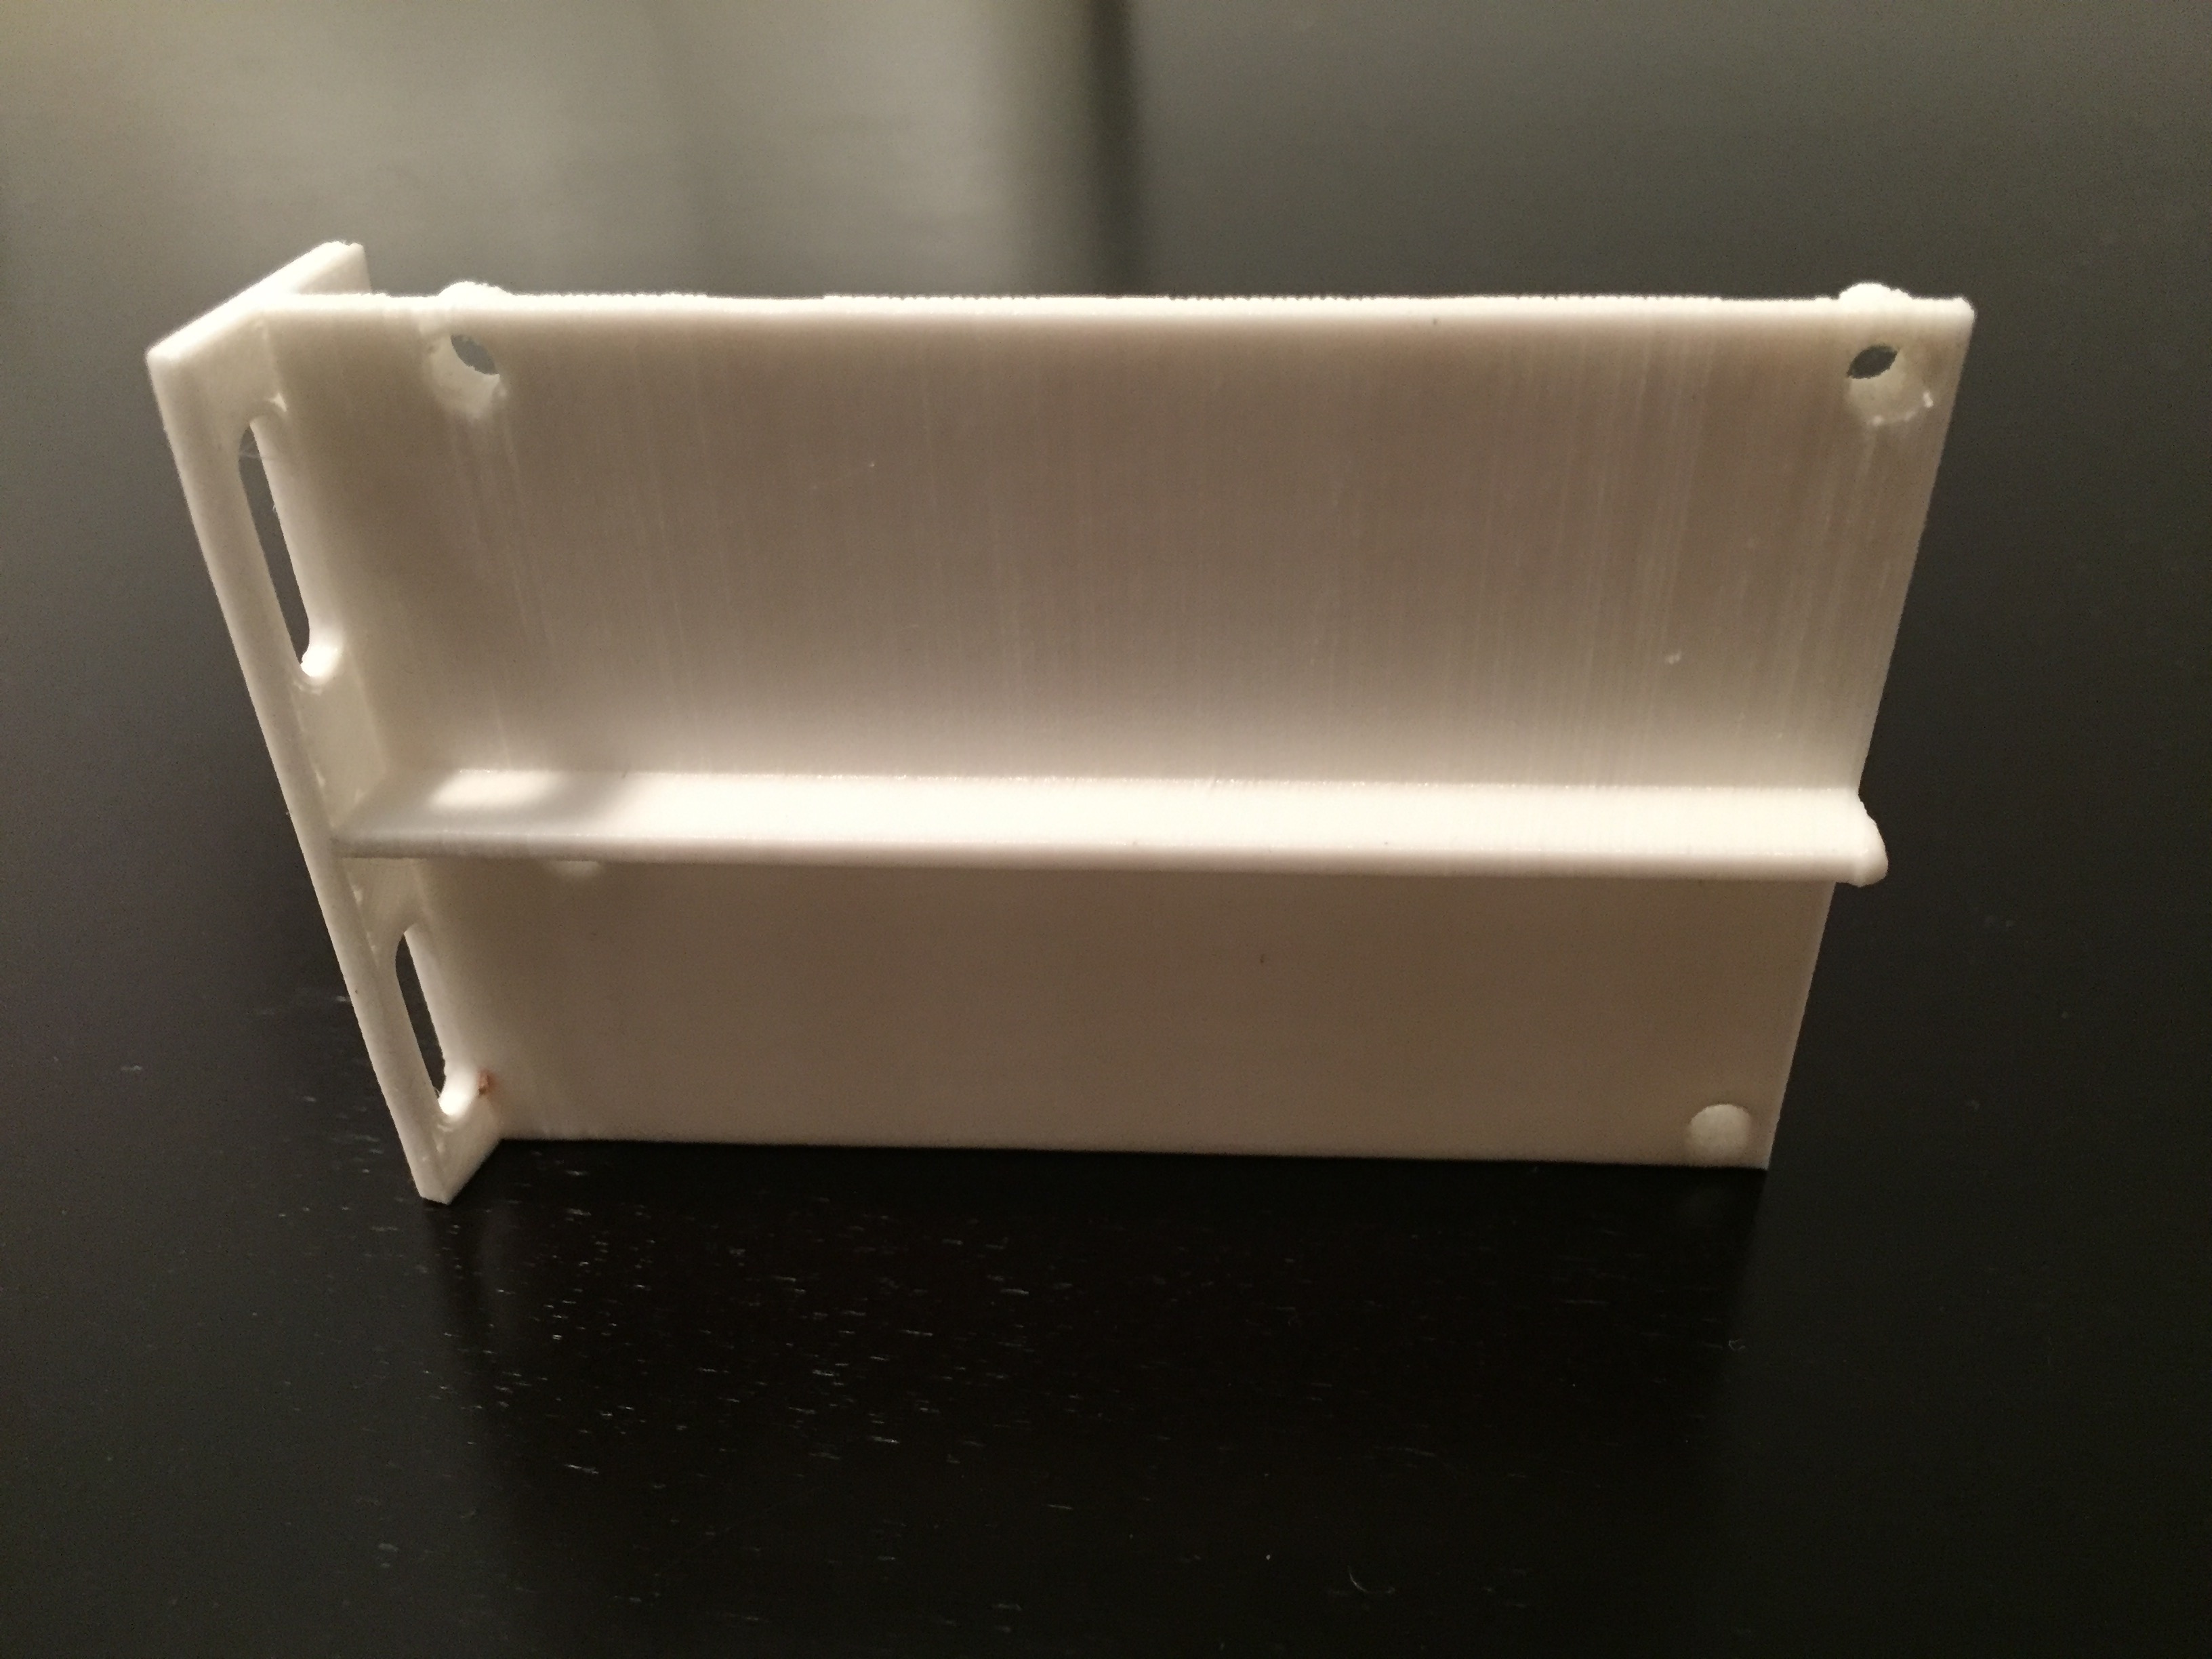
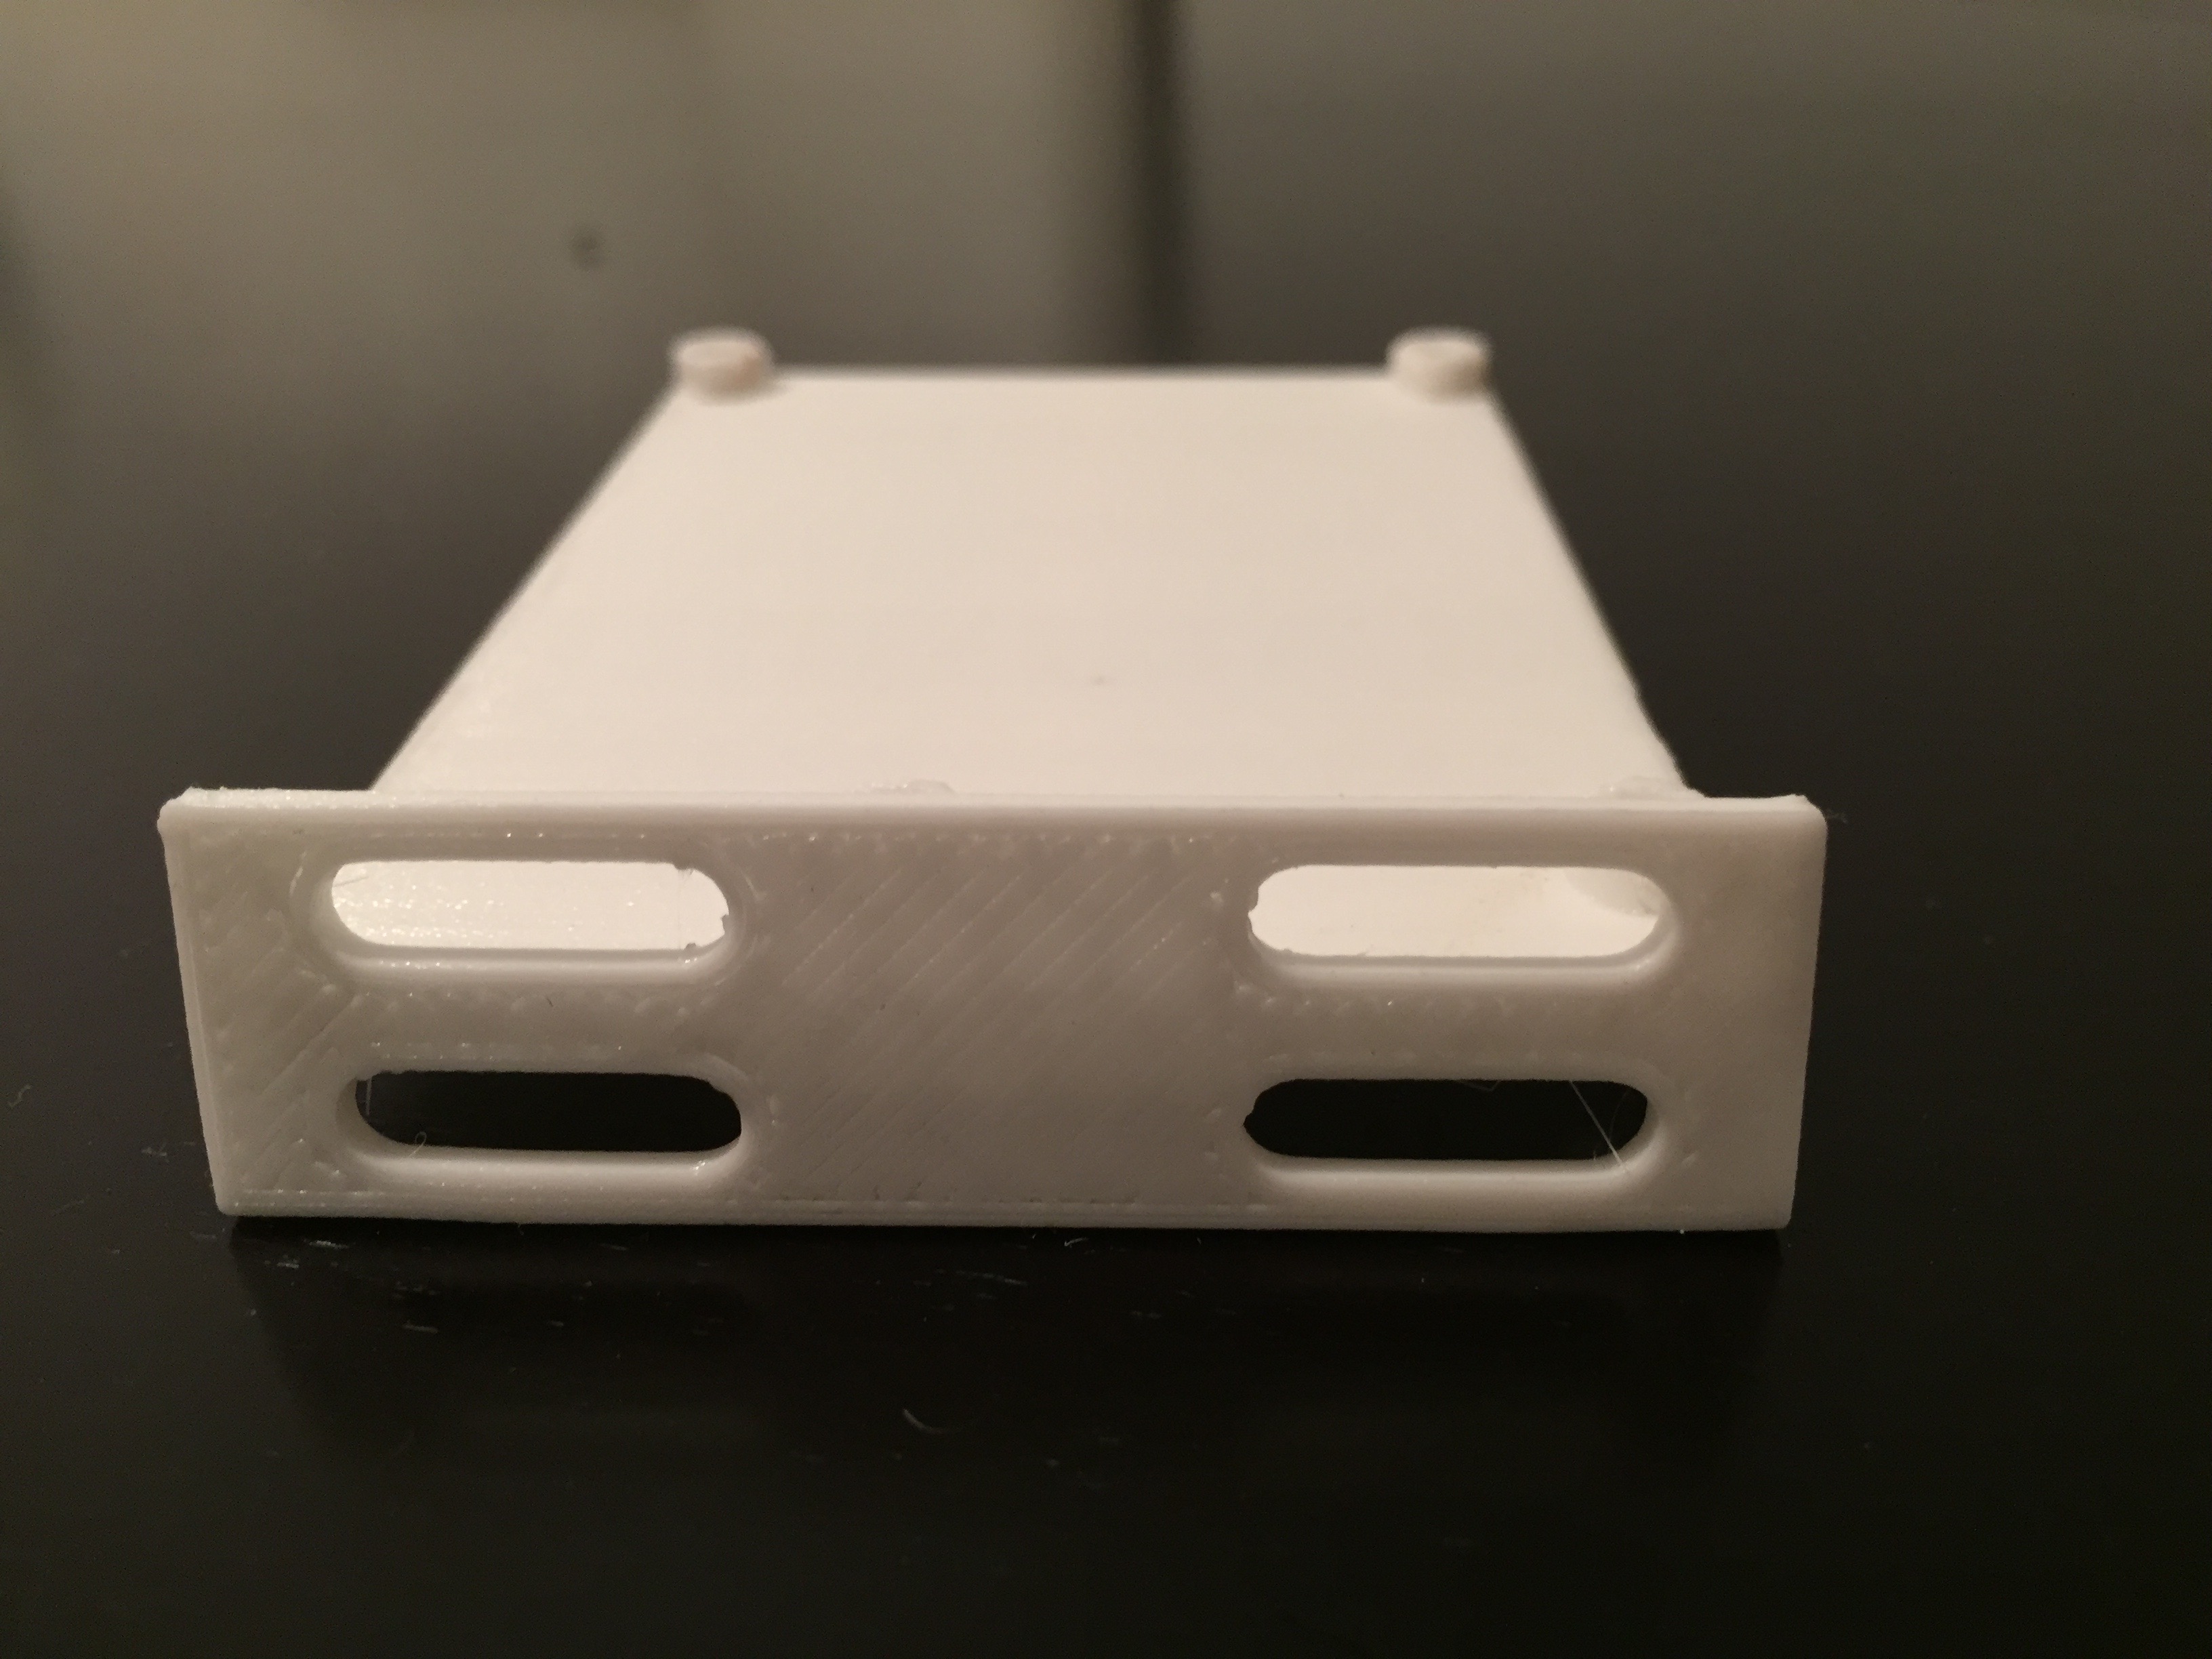
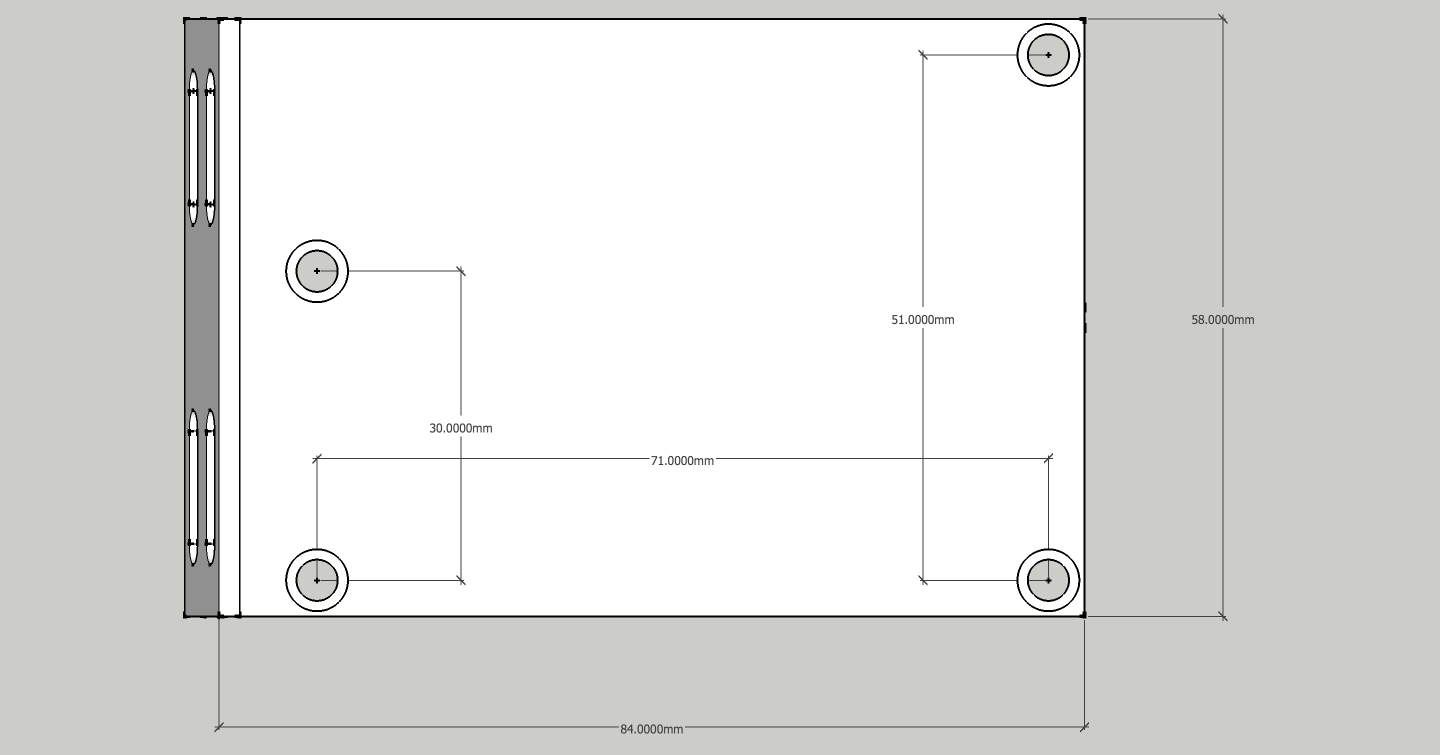
From here I’m just wrestling with getting all the wires strategically placed (stuffed) so that everything fits nicely and I can replace the back and test!
Update September 29, 2016
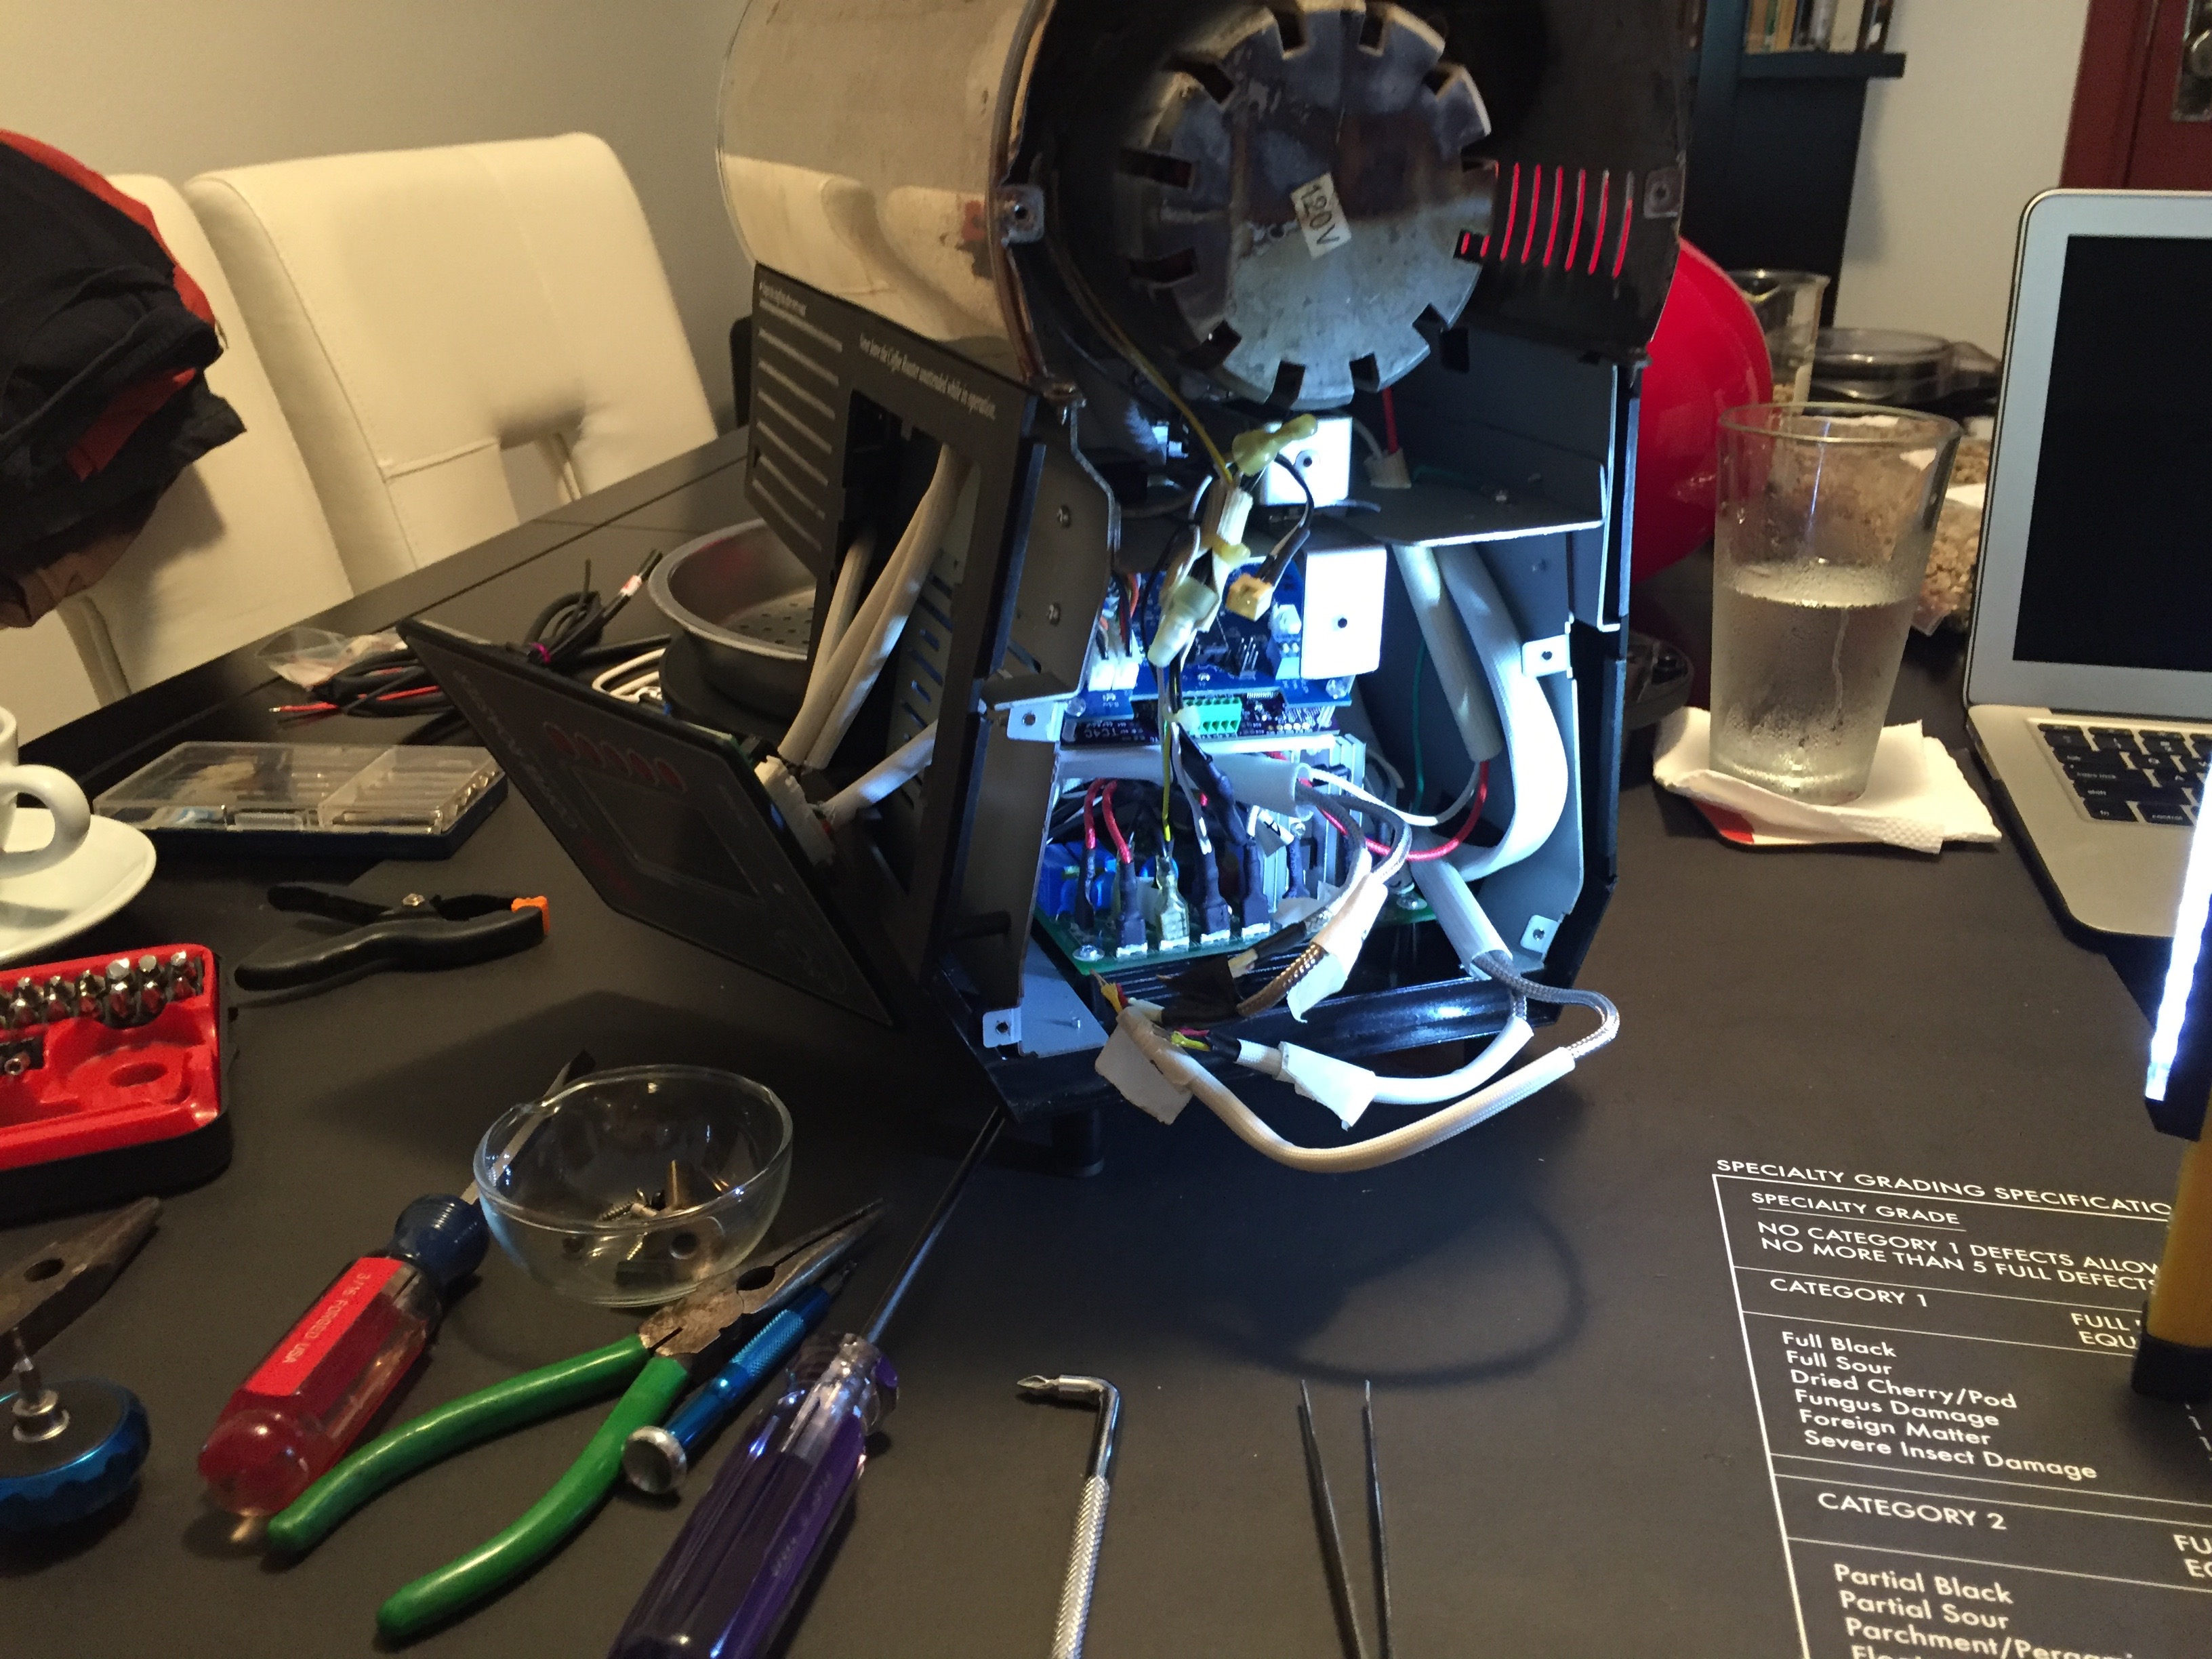
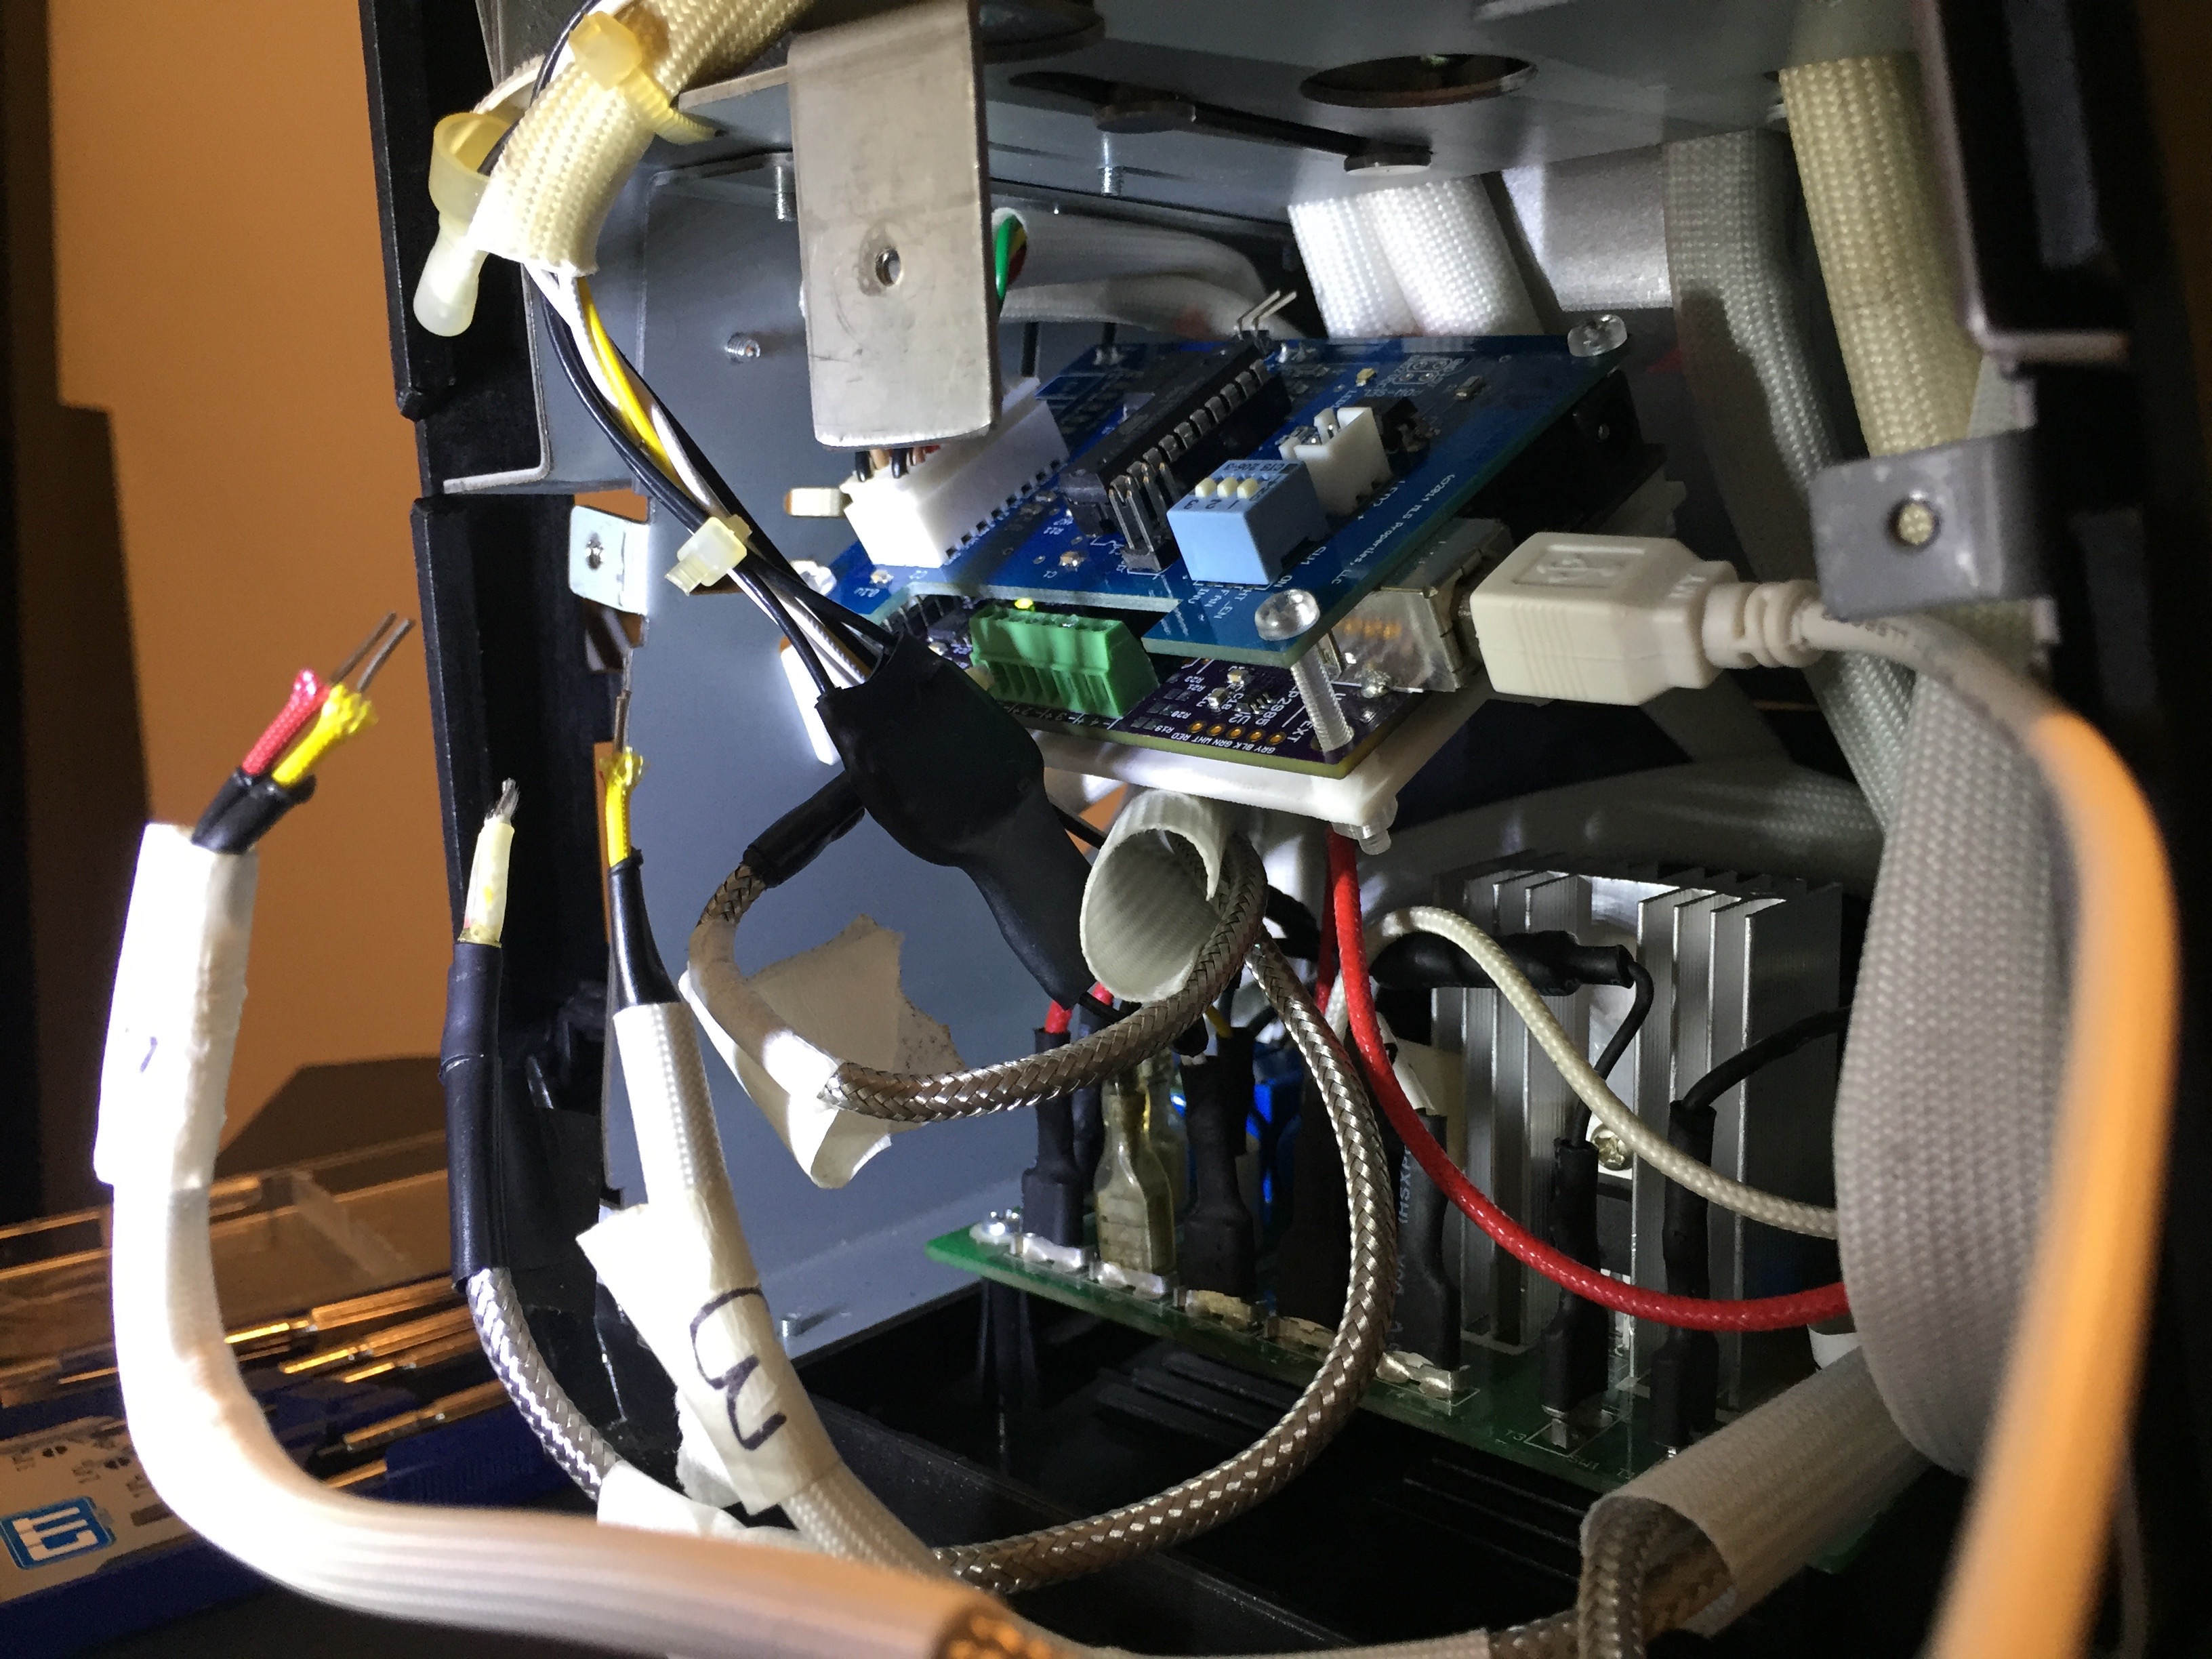
Version 2 of the bracket is installed and I don’t like the results. The original, vertical mounting position on the side of the roaster utilized the available space much better than this horizontal position. The biggest problem is that the thermocouples now extend towards the rear cover of the roaster so they have to be curved to fit in the tight space. Also, the horizontal placement means the screws to secure the thermocouples (TCs) are straight up-and-down, requiring either a special screwdriver or some acrobatics to access the screws (I picked up a special screwdriver, pictured below). I also mounted the bracket at a slight angle, as you can see in the pictures, to facilitate access to the TC screws.
Lastly, using the bracket to mount the boards horizontally positions the TC terminal block right in front of an existing group of wires that can’t be moved much, making the fit for the TCs very tight.
The bracket works and I was able to get all the wires stuffed into place and the rear cover secure. However, I prefer the original, horizontal mounting position and was able to mount the boards quicker in that position. Utilizing a horizontal position such as this took a lot of time to wrangle the wires into place.
Update February 2, 2022
I disassembled the HotTop recently to replace the heating element and cooling fan. In doing so, I found that the bracket has become very brittle and has broken away completely from the side of the roaster where it was mounted. I don’t know what filament was used to print the bracket.
At some point, I may design a new, horizontal mounting bracket. Below are two different file versions of the bracket for you to play with if you want:
HTRI-Bracket.stl
HTRI-Bracket.skp
